VMware vSphere 6.5 is scheduled to reach end of general support 15 October 2022, referenced in the VMware Lifecycle Matrix. See also How to Install vSphere 7.0. Upgrade to vSphere 7 can be achieved directly from vSphere 6.5.0 and above, whereas vSphere 6.0 requires an intermediate upgrade to 6.5 or 6.7 first. For more information see the VMware Upgrade Matrix. Finally, the Windows vCenter Server and external PSC deployment models are now depreciated and not available with vSphere 7.0.
The vCenter Server Appliance now provides vCenter High Availability (HA) with vSphere 6.5 onwards. By implementing vCenter HA you can protect your vCenter from host and hardware failures, and significantly reduce down time during patching due to the active / standby nature of the vCenter cluster. In vSphere 6.7 Update 1 onwards the vCenter HA configuration is simplified, see Configuring vCenter 6.7 High Availability for more information.
The vCenter HA architecture is made up of the components in the vSphere image below. The vCenter Server Appliance is cloned out to create passive and witness nodes. Updated data is replicated between the active and passive nodes. In the event of an outage to the active vCenter the passive vCenter automatically assumes the active role and identity. Management connections still route to the same IP address and FQDN, however they have now failed over to the replica node. When the outage is resolved and the vCenter that failed comes back online; it then takes on the role of the passive node, and receives replication data from the active vCenter Server.


Requirements
- vCenter HA was introduced with the vCenter Server Appliance 6.5
- The vCenter deployment size should be at least small, and therefore 4 vCPU 16 GB RAM
- A minimum of three hosts
- The hosts should be running at least ESXi 5.5
- The management network should be configured with a static IP address and reachable FQDN
- SSH should be enabled on the VCSA
- A port group for the HA network is required on each ESXi host
- The HA network must be on a different subnet to the management network
- Network latency between the nodes must be less than 10ms
- vCenter HA is compatible with both embedded deployment model and external PSC
- For further information on vCenter HA performance and best practises see this post
Configuration Types
When setting up vCenter HA we are given the option of basic configuration or advanced. The correct deployment type depends on your environment. If the VCSA is managing its own ESXi host and virtual machine, or is managed by another vCenter Server in the same SSO domain then the basic deployment method should be used. This automatically clones the vCenter, and creates DRS anti-affinity rules.
If the VCSA is on a separate vCenter in a different SSO domain then the advanced deployment method should be used. In this case we need to manually add an additional NIC and clone the VCSA. The basic and advanced configuration types produce the same end result, but with a different process for different environments.
Both the embedded PSC and external PSC deployment models are supported. In this post we will walk through the advanced and basic configuration steps for vCenter with embedded PSC. For external PSC a load balancer can be implemented to provide HA, you can read more about implementing vCenter HA with the external deployment model here. If you are configuring vCenter HA in a cluster with less than the required number of physical hosts, such as in a home lab, you can add a parameter to override the anti-affinity setting; see this post by William Lam.
Basic Configuration Process
Log into the vSphere web client. Right click the top level vCenter Server in the inventory and select vCenter HA Settings. Click Configure in the top right hand corner.

Select the configuration type, in this example we are going to use Basic. Click Next.

An additional NIC will automatically be added to the active VCSA. Select the HA network to use and enter an IP address, remember this must be a separate subnet to the management network or the configuration wizard will error. Click Next.

Once the configuration wizard is complete the active VCSA will be cloned to create passive, and witness nodes. On this page we need to specify the HA IP addresses to use for each node, then click Next. You do not need to manually add any NICs during the basic configuration, this is all done for you. However as per the pre-requisites you do need to make sure a network is available to use for HA traffic.
Review the deployment page, if applicable you may need to change the compute or datastore locations by clicking Edit to ensure each component is spread across the vSphere cluster.

As you can see on the final page clone tasks will automatically be created. The new VMs are named VCSA-peer and VCSA-witness, where VCSA is the VM name of your current vCenter Server Appliance. Click Finish.

Monitor the tasks pane, vCenter HA may take around 5 minutes to clone and deploy the cluster nodes, depending on the speed of your underlying infrastructure. Once complete the vCenter HA status will show Enabled, and all nodes in the cluster will show Up.
You can edit the status of vCenter HA at any time by going back into the vCenter HA menu and clicking Edit. These are the available options.

Advanced Configuration Process
The advanced deployment process takes longer as it involves much more manual configuration. The first thing we need to do is add an additional network adapter to our existing vCenter Server Appliance, and configure a vCenter HA IP address. Log into the vSphere web client of the vCenter managing the VCSA. Locate and right click the VCSA, select Edit Settings. From the New device drop down select Network and click Add. Select the port group to use, remember this needs to be a separate subnet to the management network, ensure Connect is ticked and click Ok.
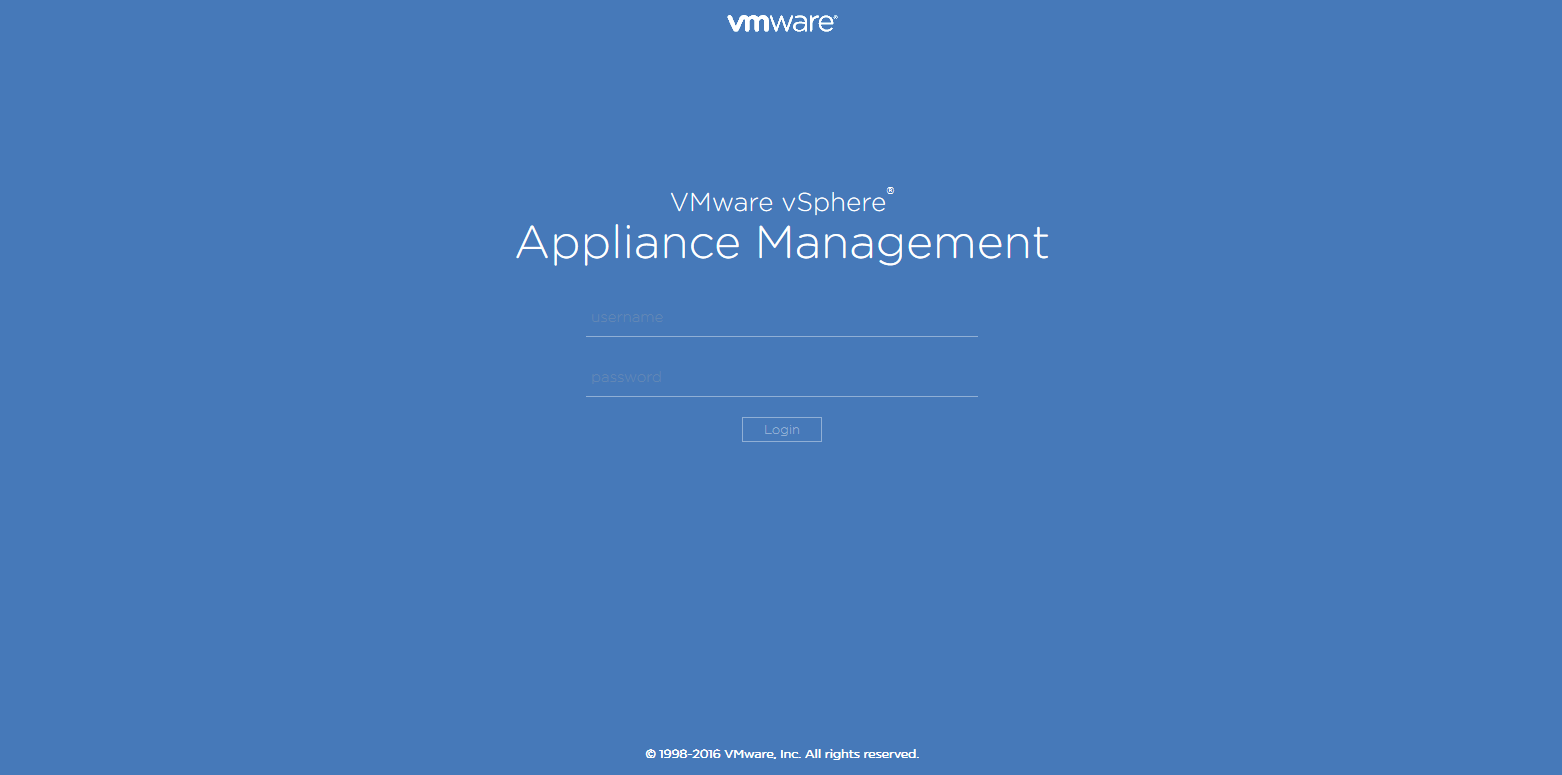
Now we can configure the network settings using the Appliance Management portal. Browse to https:// :5480 where is the IP address or FQDN of your vCenter Server Appliance. Log in with the root password.
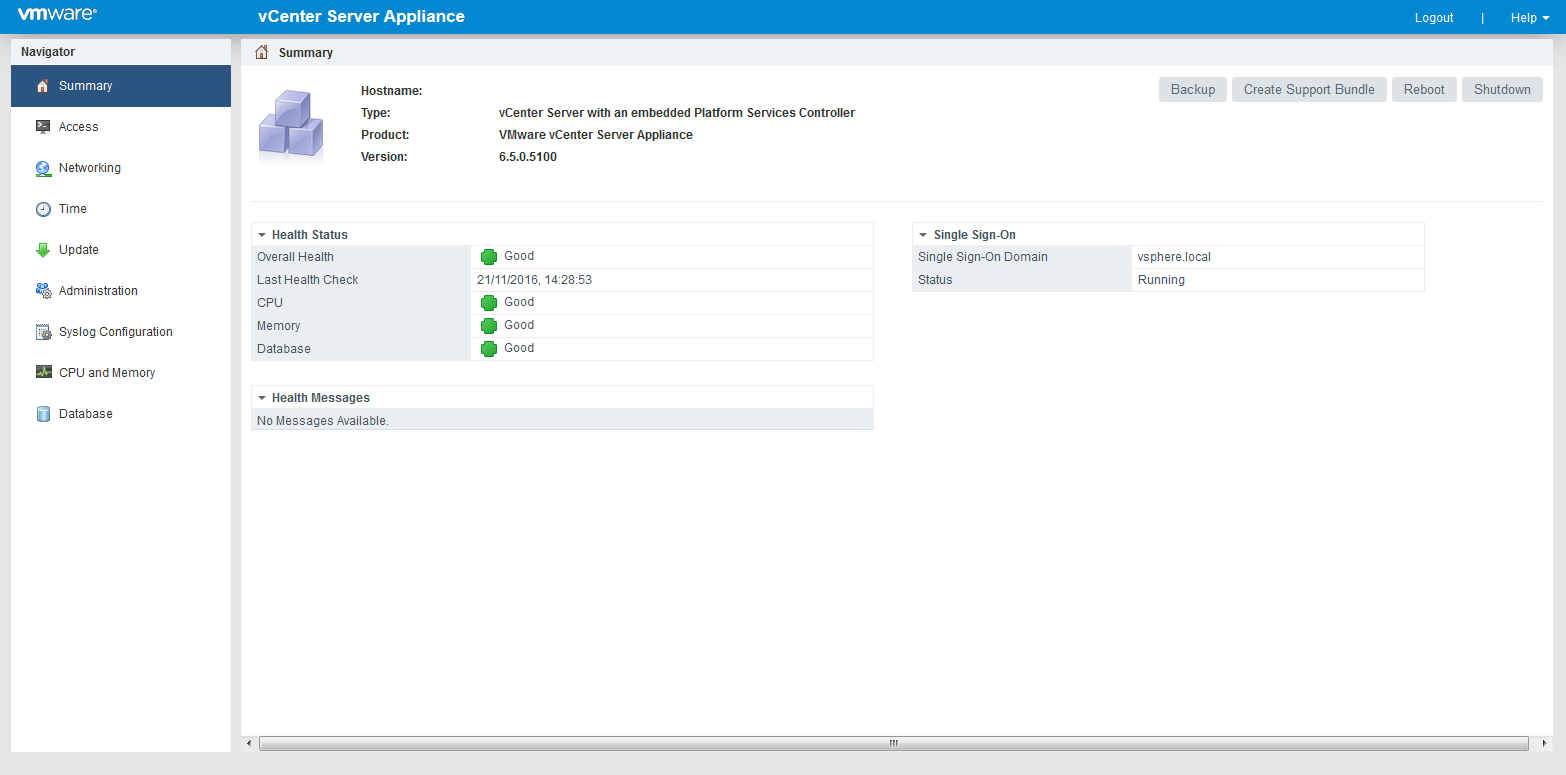
Select Networking on the left hand navigation menu.
Open the Manage tab and click Edit next to the Networking Interfaces box. Expand nic1, note that the status is down, configure the IP settings and click Ok.

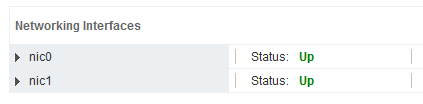
Verify that nic1 is now showing a status of Up.
We can now start the vCenter HA configuration wizard. Open the vSphere web client of the VCSA for which you want to configure HA. Right click the top level vCenter Server in the inventory and select vCenter HA Settings. Click Configure in the top right hand corner.
Select the configuration type, in this example we are going to use Advanced. Click Next.

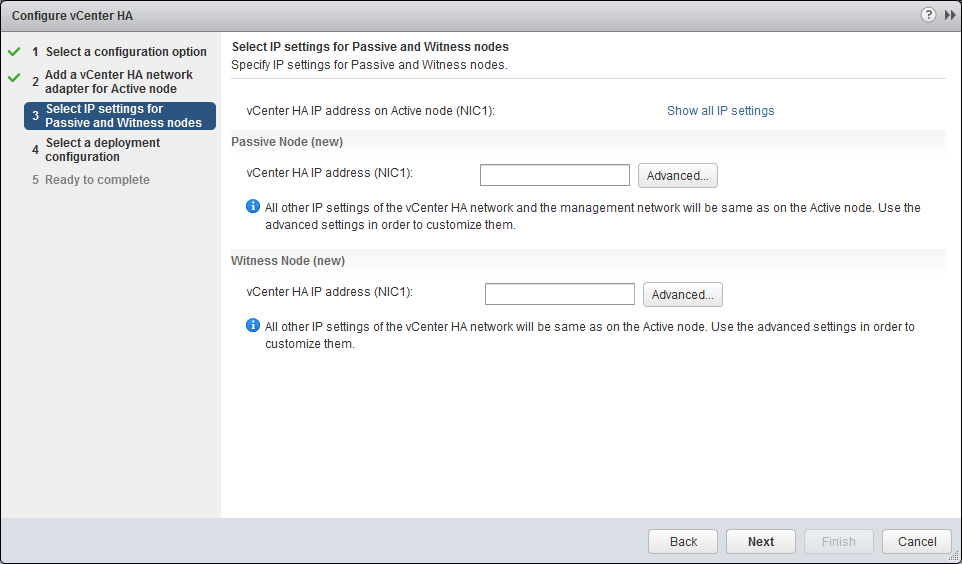
Enter the IP address settings for the passive and witness nodes, on the HA network, then click Next.

Now we need to do some manual cloning, go back to the vSphere client of the vCenter Server managing the VCSA. Locate the VCSA in the inventory, right click and select Clone, Clone to Virtual Machine.
Run through the clone wizard, let’s create the passive node first. During the clone wizard we configure all settings, including management IP address and host name, to be the same as the active VCSA except for the HA IP address. Each node has a unique IP address on the HA network.
- Enter a name and location for the virtual appliance.
- Select different compute resource and datastores to the active VCSA if possible.
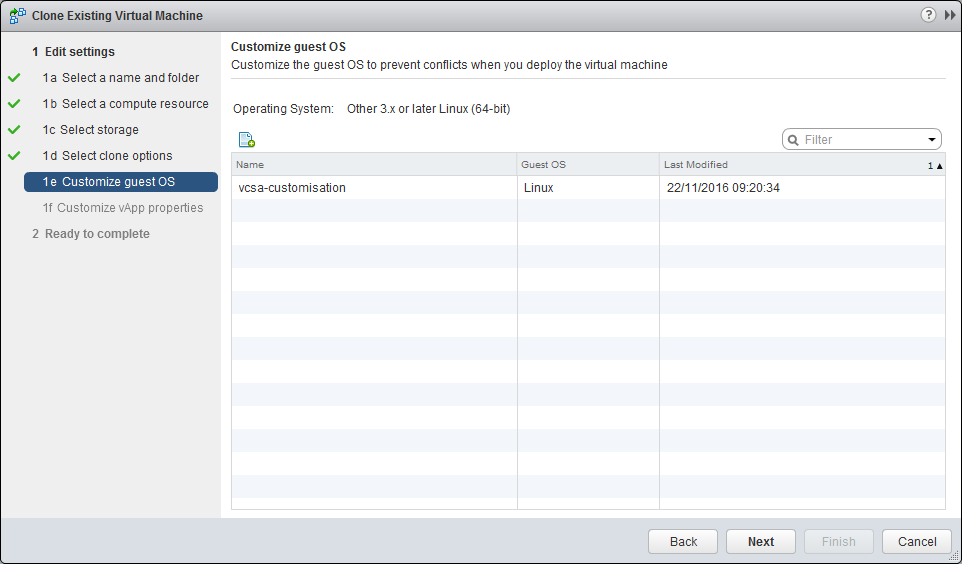
- On the clone options page select Customise the operating system, Power on virtual machine after creation.

- On the customise guest OS page click the create new specification icon.
- Enter a name and description for the new customisation.

- Enter the same OS host name and domain as the active node.
- Configure the same time zone as the active node.
- On the network page edit the settings for NIC1, select use the following IP settings, and enter the management network settings of the active vcsa. This network adapter will be used to assume the identity of the active VCSA in the event of a fail over.
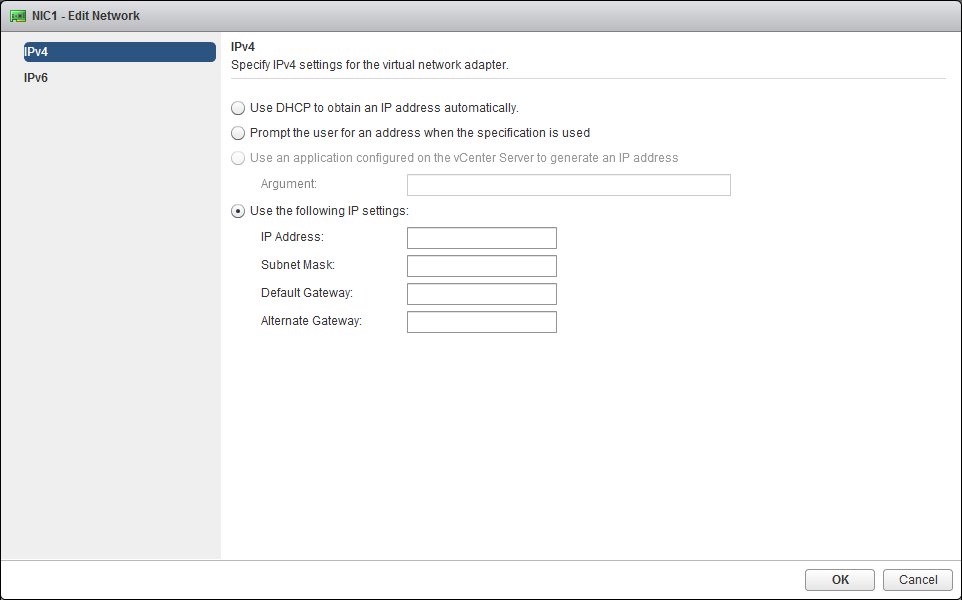
- Edit the settings for NIC2, select prompt the user for an address when the specification is used. Enter the subnet mask and leave the gateway blank. This adapter will be used for the HA network, we will configure the unique IP address shortly.

- On the DNS and domain settings page of the wizard enter the domain name and DNS server(s) that the interface will connect to, click Finish.
- You will be returned to the clone virtual machine wizard. Select the newly created customisation profile.
- Enter the IP address for NIC1. This is the HA IP for the passive node we input during the vCenter HA configuration wizard earlier.

- Accept the default virtual hardware and vApp properties.
The VCSA will now be cloned to create the passive node. Repeat the steps above for the witness node, however this time select the existing guest customisation that we created first time round.
Enter the unique HA IP address for the witness node that we specified during the vCenter HA configuration wizard.
When these manual steps have been completed go back to the vCenter HA configuration wizard and click Finish. Monitor the Configure a vCenter HA Cluster task in the recent tasks pane.

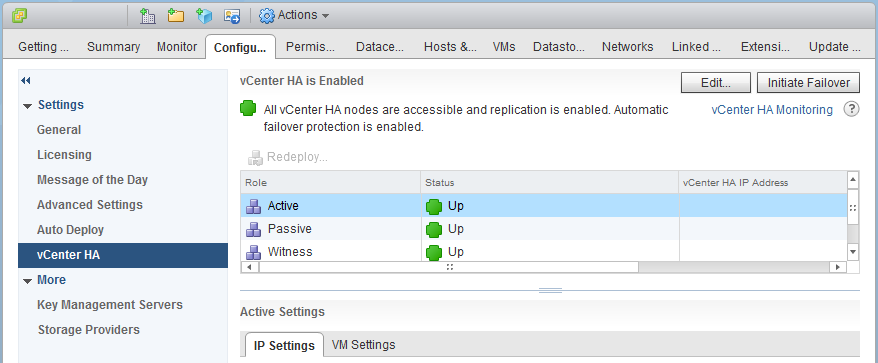
Once complete the vCenter HA status will show Enabled, and all nodes in the cluster will show Up.
For more information on vCenter HA or configuring different aspects of the advanced deployment; see the vCenter High Availability section of the vSphere 6.5 Documentation Centre.
The final step is to configure an anti-affinity rule to stop the vCenter Server appliances from running on the same hosts. Log into the vSphere web client and browse to Hosts and Clusters. Click the vSphere cluster and select the Manage tab. Under Configuration click VM/Host Rules. Under VM/Host Rules click Add.
Enter a name for the rule, such as vCenter HA, ensure Enable rule is ticked and select Separate Virtual Machines as the rule type. Click Add and select the vCenter Server nodes. Click Ok.

This rule will ensure DRS does not place nodes on the same hosts in a vSphere cluster.

Thanks for this great article. I need to know if active, passive & witness having different ip address/subnet . How we will add to DNS .
vcsa (active)
vcsa-peer (passive)
vcsa-witness (witness)
if Active node goes down : Passive is up. All my users need to change url to “vcsa.domain.com” to “vcsa-peer.domain.com”
Can you please clarify on this one.
i seen just configure DNS line there, If you have chance ,can you explain “what are the configurations made at DNS “
LikeLike
Hi Ajay, thanks for your comment. The short answer to your question is make sure the VCSA host name is added to DNS pointing to the management IP as normal. Your users continue to connect to vcsa.domain.com in the event of a failover. I have provided further information below.
For a default setup in the event of a vCenter failure the passive node assumes the identity of the active node and can be accessed by the same management IP address / FQDN. The way this works is by cloning the active node to create the passive node, the network settings of the management interface are exactly the same, however the management network of the passive node is disconnected. When a failover is initiated the passive node brings online its management connection and becomes the active node. There is no manual interaction needed.
There are a couple of things to consider – the failover takes around 5 minutes or longer for large environments, and the web client services can take a further 6-7 minutes to start. So wait at least 10 minutes before trying to connect. I said for a ‘default setup’ because in the advanced deployment method you do have the option to override these settings and assign a new management IP in the event of a failover, however I’m assuming you don’t want to do this.
To clarify; the HA network is used for replication and monitoring between the active and passive nodes, the witness node is also connected to the HA network for monitoring. The HA network must be a different subnet to the management network, and each of the 3 nodes is configured with an IP address on the HA network. Your users will not see or connect to these IP addresses they are solely for background use by vCenter.
I think the ‘configure DNS settings’ you have picked up on is in reference to configuring the DNS servers to use during the customisation wizard. I have updated the post at this point to make it clearer.
LikeLiked by 1 person
Thanks for quick response, i got it my point now.
LikeLike
I seem to be having an issue with an embedded PSC deployment and basic HA setup. I get the error “The vCenter Server does not use an external Platform Service Controller. vCenter HA requires an external Platform Service Controller. Repoint vCenter Server system to an external Platform Controller.” Can you deploy with embedded PSC? Thanks
LikeLike
Yes vCenter HA supports either deployment model, the vCenter I used was embedded PSC. At what point do you get that error?
LikeLike
Great blog post – the Basic Process works flawlessly, however the Advanced Process runs into trouble for me in two places.
First, at the cloning stage, if I check ‘Power on virtual machine’ as shown in your screenshot, one of two things happen – A: the clone fails to power on with a warning about a duplicate IP address (I assume referring to the fact that the clone will have the same management IP as the original) and then the clone operation fails (although the clone is left behind in a powered off state) Or B: the clone succeeds in powering on with the same management IP as the running VCSA and then all hell breaks loose (seriously – it took me 4 days to clean up the mess and get a running vCenter back. hint: run destroy-vcha on the original)
In order to move past this it is necessary to leave ‘Power on virtual machine’ unchecked and then manually disconnect the management network nic of each clone before powering on. When this is done, you can then have all three copies of the VCSA running simultaneously without conflict, and proceed with the HA configuration wizard.
Second, after clicking Finish in the HA wizard, the task fails with the error “A general system error occurred: Failed to ssh connect peer node [HA IP of secondary clone]”. This despite the fact that ssh is running on all three copies of the VCSA and they can all manually ssh to each other via their HA IPs. My only idea here is that despite what the error says, the wizard is actually trying to ssh to the management IP address, which has to be disconnected to work around the first issue. I have no idea how to get past this error.
Like I said, the wizard for the Basic Process works fawlessly so it must have some way of working past these issues. Any idea how it does it?
LikeLike
Matt, did you use the customization wizard as shown above? If done correctly, you shouldn’t receive a duplicate IP issue.
LikeLike
I have the same identical issue and I have followed the wizard step by step with a VMware support engineer as well. We could not figure out why we get the ssh error and how to work around it. It is possible that the message is misleading.
Do you have any insight?
LikeLike
I forgot to mention that if I do the basic procedure it works perfectly, while if i do the advanced, I get “A general system error occurred: Failed to ssh connect peer node [HA IP of secondary clone]”.
LikeLike
Who using the advanced configuration settings, the passive and witness nodes are manually cloned from the active VCSA.
This means that all three are sized equally. Is it needed for the witness node to have the same size? Are there certain services that can be stopped on the witness node? Can the PostgreSQL database be deleted from the witness node?…
LikeLike
I am trying to set this up to failover to our DR site. We are using external PSC (one in production site and one in DR Site) same SSO. We have a 6.5 VCSA in Production and in DR – both VCSA’s show in Linked mode. When I try to configure this to create the clones in the DR site I get a message – The new VM xxxxxx-peer is not in the same vCenter Server inventory as the source vCenter Server Appliance. This option is not supported. Select a VM folder or a datacenter in the same vCenter Server inventory.
Any ideas how this can work ?
LikeLike
Thanks for the post. It worked perfectly in my lab environment as I tested the failover. It took about 12 minutes to complete the failover from the time I triggered the failover until the web client fully restored. I used the Advance Configuration.
LikeLike
Great, thanks for the guide… Just wondering if the nodes have to all be part of the larger SITE HA Cluster? or can the passive node be placed on a separate site, managed by the single VCSA, where networking is 1g-10gb and spanned VLANS etc
Reason for this question, we have 6 esxi servers at two seperate locations, managed from a single VCSA. can I place the passive node at the other location, if the network segments are present?
LikeLike
Great Blog!
Have a question can you please tell me what will be the risk if I deploy VCHA in two host cluster ?
LikeLike
here is where i’m a little confused on what i need. during the select the passive and witness node’s IPs do i need two more IP address on top of the management IP? though the sets are clear what i need to input is not clear.
i get you don’t want to use real IPs and post them, but fake IPs would help understand what i need, or stating you need 3 additional IPs within the prerequisites.
LikeLike