VMware vSphere 6.0 reached end of general support 12 March 2020, with vSphere 6.5 scheduled for 15 October 2022, both referenced in the VMware Lifecycle Matrix. See also How to Install vSphere 7.0. Upgrade to vSphere 7 can be achieved directly from vSphere 6.5.0 and above, whereas vSphere 6.0 requires an intermediate upgrade to 6.5 or 6.7 first. For more information see the VMware Upgrade Matrix. Finally, the Windows vCenter Server and external PSC deployment models are now depreciated and not available with vSphere 7.0.
This post will walk through the process of deploying an external Platform Services Controller (PSC) appliance. The PSC was introduced with vSphere 6.0 to deal with infrastructure services such as Single Sign-On, Certificate Authority, and licensing. For more information on the Platform Services Controller review this KB.
The PSC can be either embedded within the vCenter Server, or external to allow scale out for larger environments. When deciding if an embedded or external PSC is appropriate review the vCenter Server deployment models here. The external PSC can be installed as a virtual appliance, or installed on a Windows server (virtual or physical). Environments can be mixed, for example a PSC virtual appliance can be deployed where a physical Windows vCenter currently exists. You may also want to review the following posts:
- vCenter Server Appliance 6.5 Install Guide
- vCenter Server Appliance 6.0 Install Guide
- Configuring vCenter 6.5 High Availability
- Reconfiguring vCenter Server for External PSC
Installation Process
Downloaded the VMware vCenter Server Appliance here: v6.0, v6.5.
Mount the ISO on your computer. The VCSA 6.5 installer is compatible with Mac, Linux, and Windows. Browse to the corresponding directory for your operating system, e.g. \vcsa-ui-installer\win32. Right click Installer and select Run as administrator. As we are installing a new instance click Install.

On the welcome page click Next. Accept the license agreement and click Next.

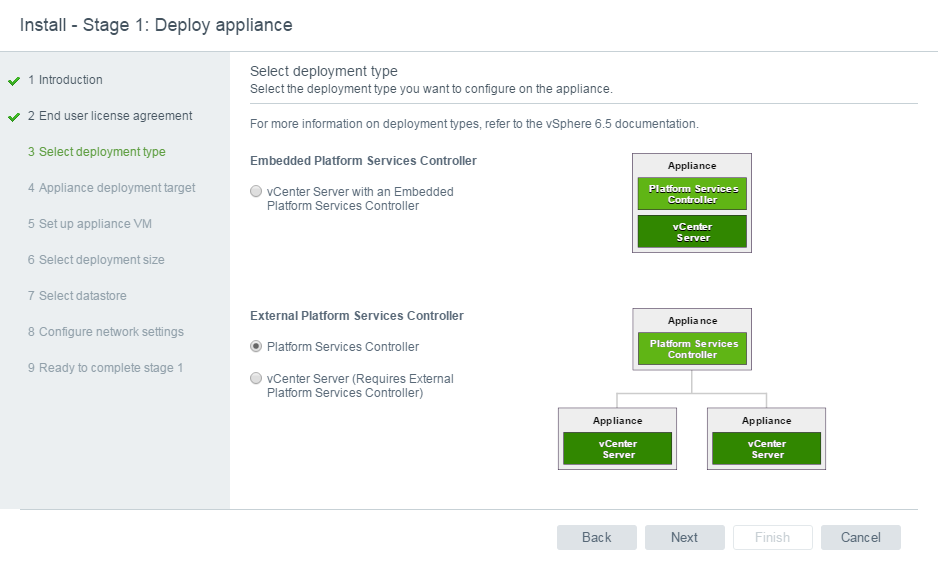
For the deployment type we need to select Platform Services Controller under the External Platform Services Controller heading. Click Next.
Enter details of the vCenter or ESXi host where the appliance will be deployed, click Next.

Select a location for the virtual appliance and click Next.

Select the compute resource for the virtual appliance and click Next.

Enter a name for the virtual appliance and configure the root password, click Next.

Select the storage to use and click Next.

Select the VM network to use and configure the network settings, click Next.

Review the deploy Platform Services Controller summary page and click Finish. The Platform Services Controller appliance will now be deployed.

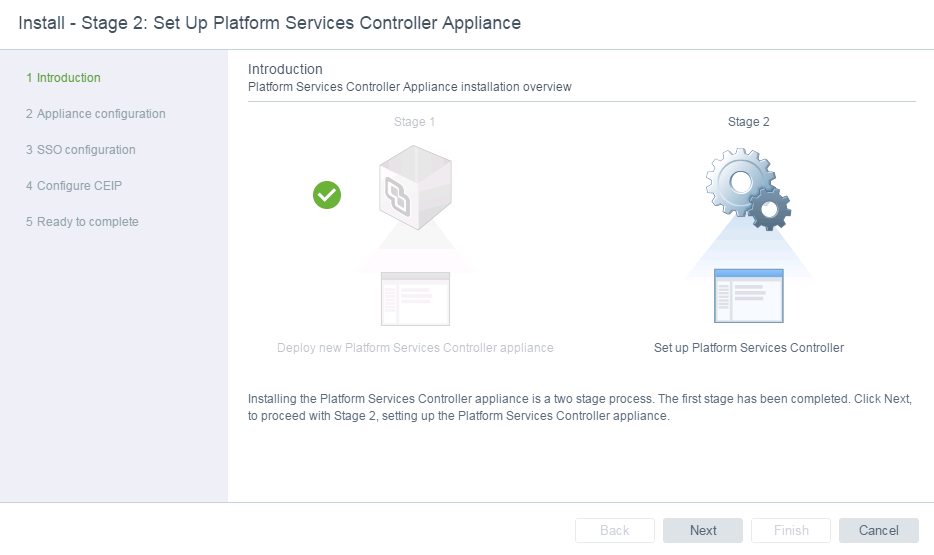
In stage 2 we configure the new appliance, click Next.
Configure the NTP server(s) and click Next.

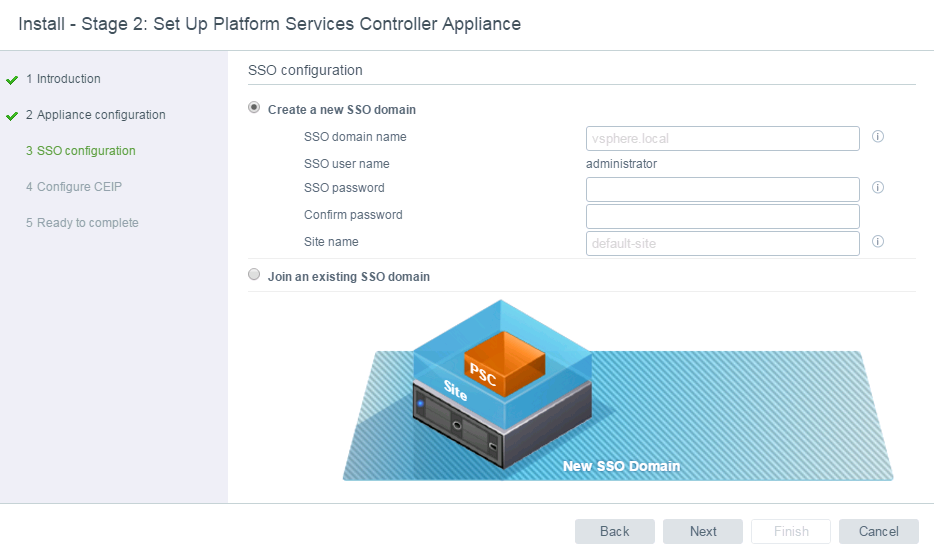
The SSO configuration page is where we determine if the PSC should be joined to an existing SSO domain or if you are creating a new SSO domain. Enter the SSO domain details and click Next.
Tick or untick the Customer Experience Improvement Program and click Next.

On the summary page click Finish and Ok. The PSC virtual appliance will now be configured.

Once complete we can access the Platform Services Controller in 2 different ways. For the appliance management portal browse to https://IP:5480 where IP is the IP or FQDN of the virtual appliance. Login with the root account.

Here we can configure settings specific to the virtual appliance, such as networking, SSH, syslog, etc.

To access the user interface browse to https://IP/psc where IP is the IP or FQDN of the virtual appliance. Login with the administrator@vsphere.local account created or defined in the installation wizard.

Here we can configure Platform Services Controller related settings, such as permissions, certificates, etc. To join the PSC to an Active Directory domain browse to Appliance Settings, and Manage. Under Active Directory click Join.

The Platform Services Controller has now been deployed and configured. Multiple PSC instances can be placed behind a load balancer to provide High Availability, as outlined in this KB.
